The ease of installing and uninstalling apps from macOS (formerly OS X) is among one of the first features we usually mention when comparing Apple's desktop operating system to others. Forget about an “Uninstall Programs” control panel like the one in Windows; you can delete applications from your Mac in three easy steps.
- Open a new Finder window and click Applications.
- Select and drag the application into the trash, or press CMD+Delete to move the item to Trash.
- Now just empty your Trash (right-click and “Empty Trash”).

Still, in some cases, removing an application may leave some data behind, such as preference and cache files. Although some say leaving these generally does no harm, there are two things you should keep in mind: such files add up over time and will occupy precious space on your Mac's hard or flash drive. That means if your storage hits a critical level, those files will ultimately affect your Mac's performance.
So users with smaller flash drives will be tempted to pay more attention to the cache and support files that some apps generate, especially if they play a lot of games. Be sure to keep an eye on your cache files.
Secondly, if you have installed an app from an unidentified developer you might not know if it contains malicious code or not, so it is in the interests of your safety and security to completely remove all of the files associated with the application you have chosen to uninstall.
Uninstalling Apps
Some apps come with an uninstall option built-in, for example Adobe or Microsoft applications, which usually install other complementary apps along with the main application.
But if you aren't confident that all of the associated files and folders have been removed, there is a third option that makes uninstalling apps as simple and dragging and dropping. For that there are apps such as CleanMyMac, MacBooster, AppCleaner and the like.

Still, the question remains: how can you make sure you have removed all data, cache files and other files associated to the removed app from your system? Well, there are three ways to do that:
- Locate the files via Finder.
- Use various Terminal commands to remove files.
- Use a third-party app that safely removes all the files.
In this article we will show how can you locate and erase the remnant app components using Finder, and which Terminal commands you can use to remove them for good.
Locating Remnant App Components With Finder
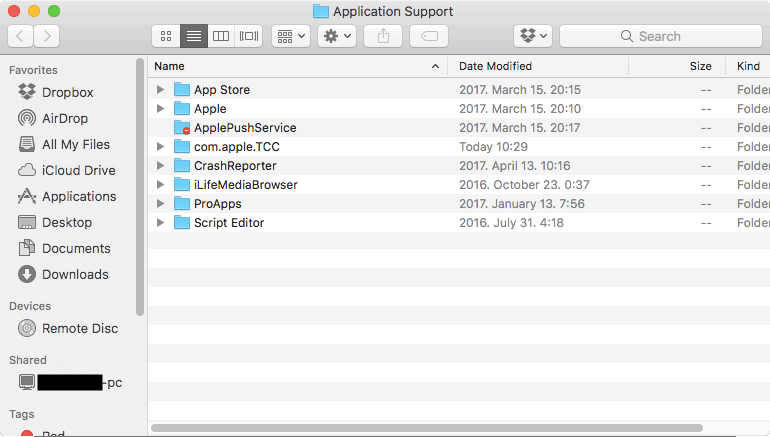
In macOS every app has Application Support files, which include saved preferences, cached temporary files and much more. You can locate those folders by opening a Finder window, hitting CMD+SHIFT+G key to open the “Go to Folder” dialog box and enter the following:
- For Application Support:
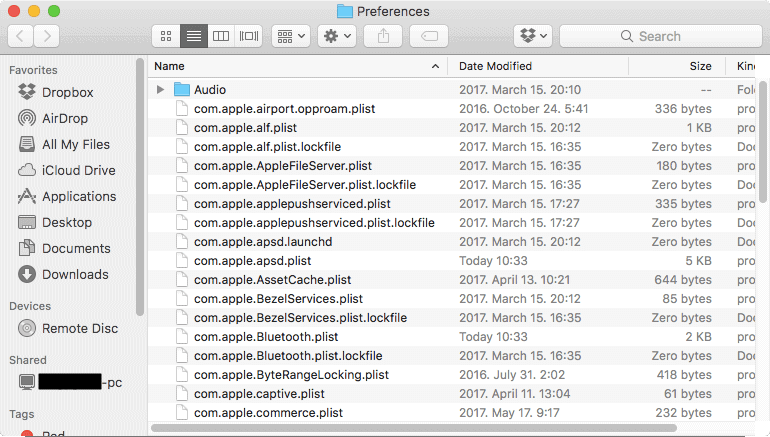
~/Library/Application Support/(App Name) - Preferences:
~/Library/Preferences/(App Name) - Caches:
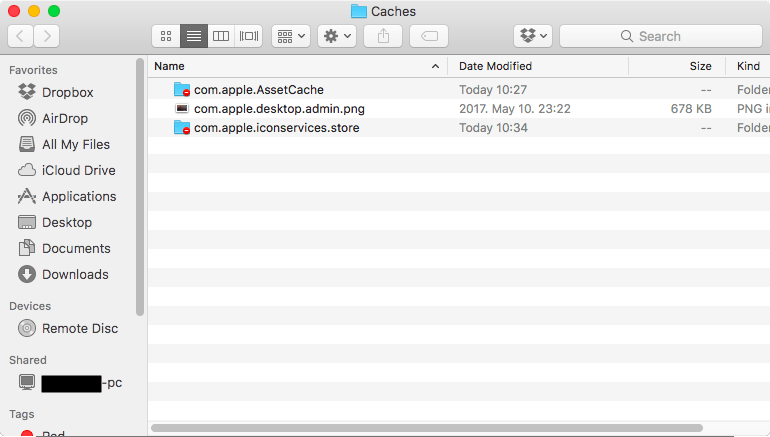
~/Library/Caches/(App Name)
Locating Folders in Application Support
Locating Folders in Preferences
Searching for Folders in Cache
After locating the folders, you can select them and either drag them to Trash or use the CMD+Delete shortkey to achieve the same, and then right-click on Trash and choose to empty it.
Completely Remove Apps and Remnant App Components Using Terminal Commands (Advanced Users Only)
Just a quick note before you launch Terminal and enter the following commands: these guides are for advanced users only, and if you are not 100% confident of what you are doing it is best to back up your Mac using Time Machine, since it allows you to restore the files if the task goes awry.
There are two powerful tools in macOS that will let you delete files: the rm (removal) and srm (safe removal) commands.
If you have administrator privileges, run the ‘rm’ command with a ‘sudo’ prefix to remove files from selected locations. To use this command, you’ll need to know the exact location of the file. In other words, to delete a file you only need to launch Terminal and enter “sudo rm -rif” followed by the path to that file.
Here is an example: sudo rm -rif ~/Downloads/file.name

The srm command goes one step further since it is the higher level of the incredibly powerful removal tool. Secure removal is not for novice users and we must remind you that, if used, it will be impossible to recover the data you have deleted using this powerful command unless you have a backup on your Time Machine drive.
So here is an example of the srm command using Terminal:
srm -r /path/to/directory/

Again, use the srm command only if you are confident of what you are doing. If not, Time Machine is there to help, as always.
Best Mac Optimization Software of 2024
| Rank | Company | Info | Visit |
|
1
|
|
||
|
2
|
|
||
|
3
|
|
More FAQs
- CleanMyMac FAQ
- How Can I Completely Delete an Application from My Mac?
- How Can I Make My Mac Start Faster?
- How Do I Clean Out My Mac Hard Drive?
- How Do I Clear the Cache Files on My Mac?
- How Do I Clear the Cache of iTunes?
- How Do I Free up System Memory on My Mac?
- How Do I Make Firefox on Mac Faster Again?
- How Do I Make macOS Sierra Faster?
- How Do I Reindex Spotlight?
- How Do I Remove iPhone, iOS Backups From My Mac?
- How Do I Test My Mac’s Performance?
- Is There a Registry Cleaner for Mac?
- MacKeeper FAQ
- What Is Making My Mac Slow?
- Why Is Emptying Trash on My Mac Slow?
- Why Is My Mac So Slow to Wake Up?
Get the Best Deals on Mac Optimization Software
Stay up to date on the latest tech news and discounts on Mac optimization software with our monthly newsletter.