![]() Transferring images taken with your iPhone to your Mac is super easy no matter which method you choose. The options are simple, either plug the device in via the USB cable and import the new pictures into Photos or simply sync your Photos library with that of the iPhone over Wi-Fi using iTunes.
Transferring images taken with your iPhone to your Mac is super easy no matter which method you choose. The options are simple, either plug the device in via the USB cable and import the new pictures into Photos or simply sync your Photos library with that of the iPhone over Wi-Fi using iTunes.
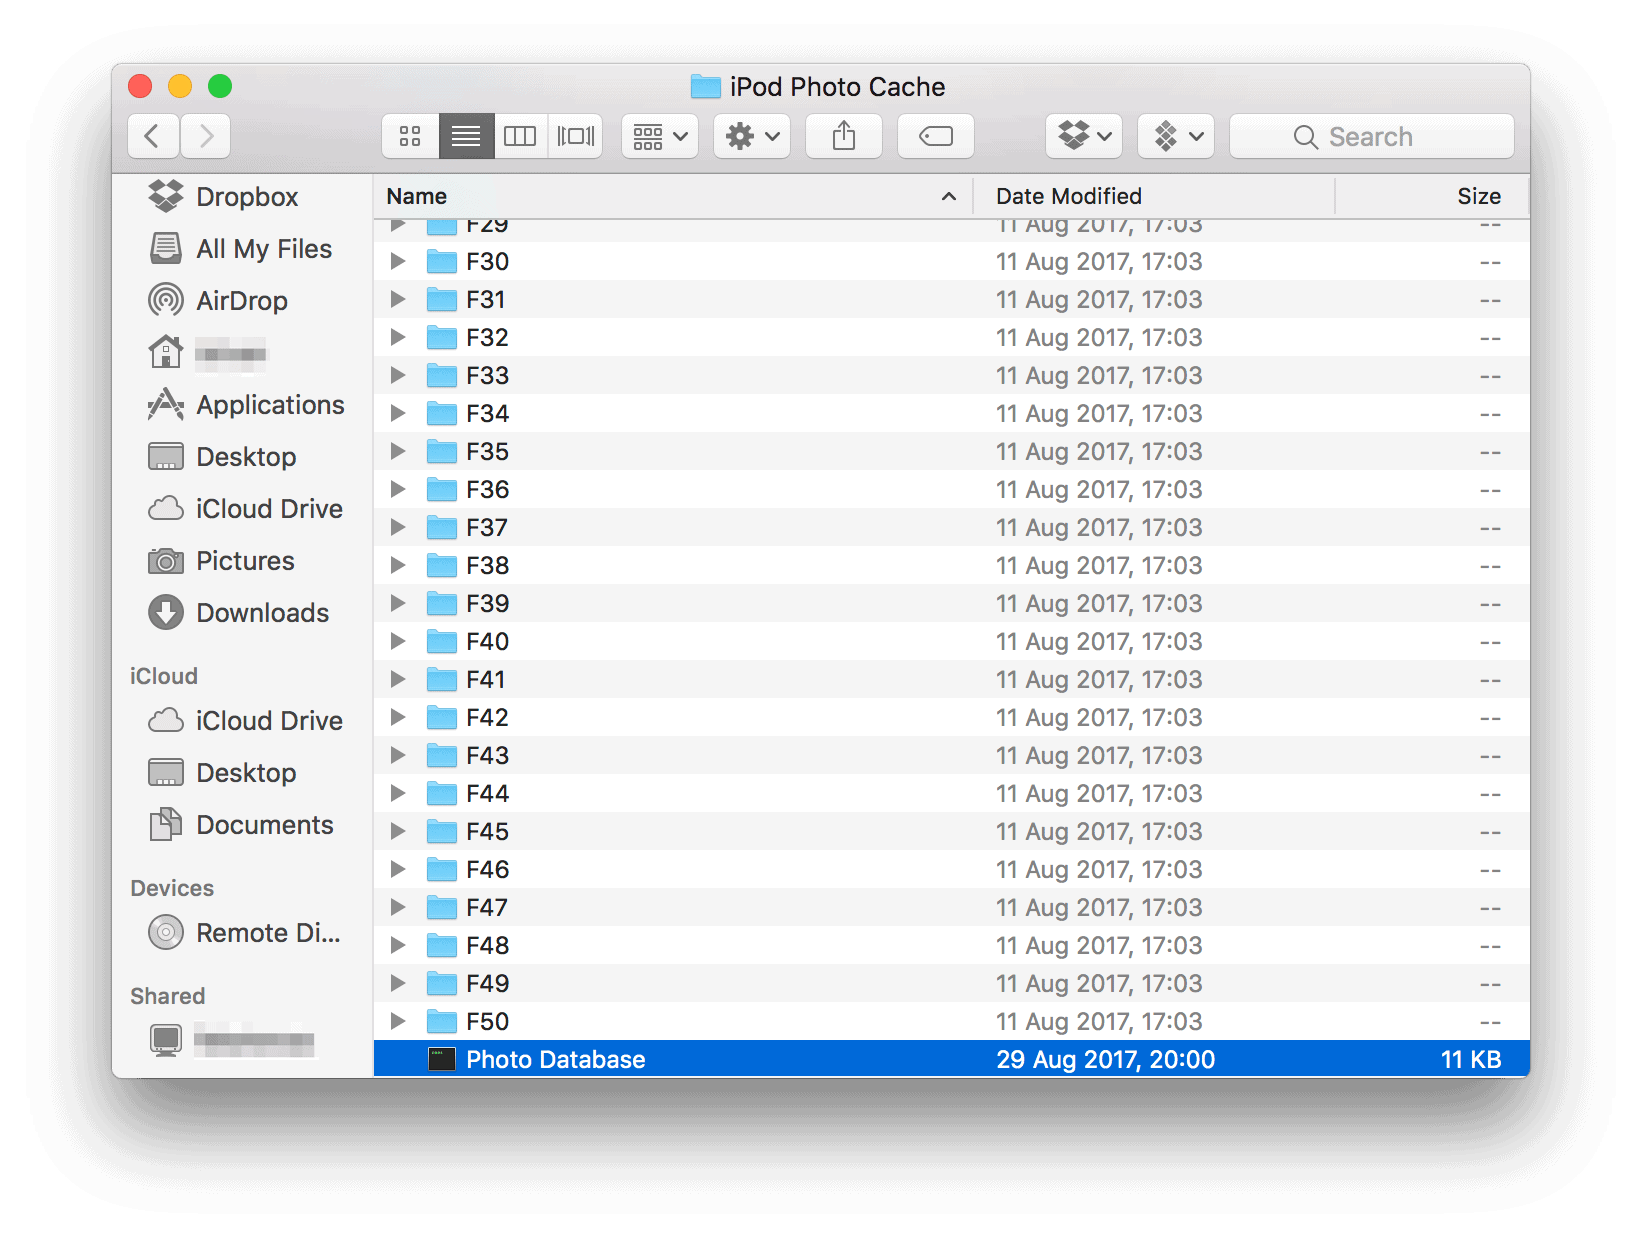
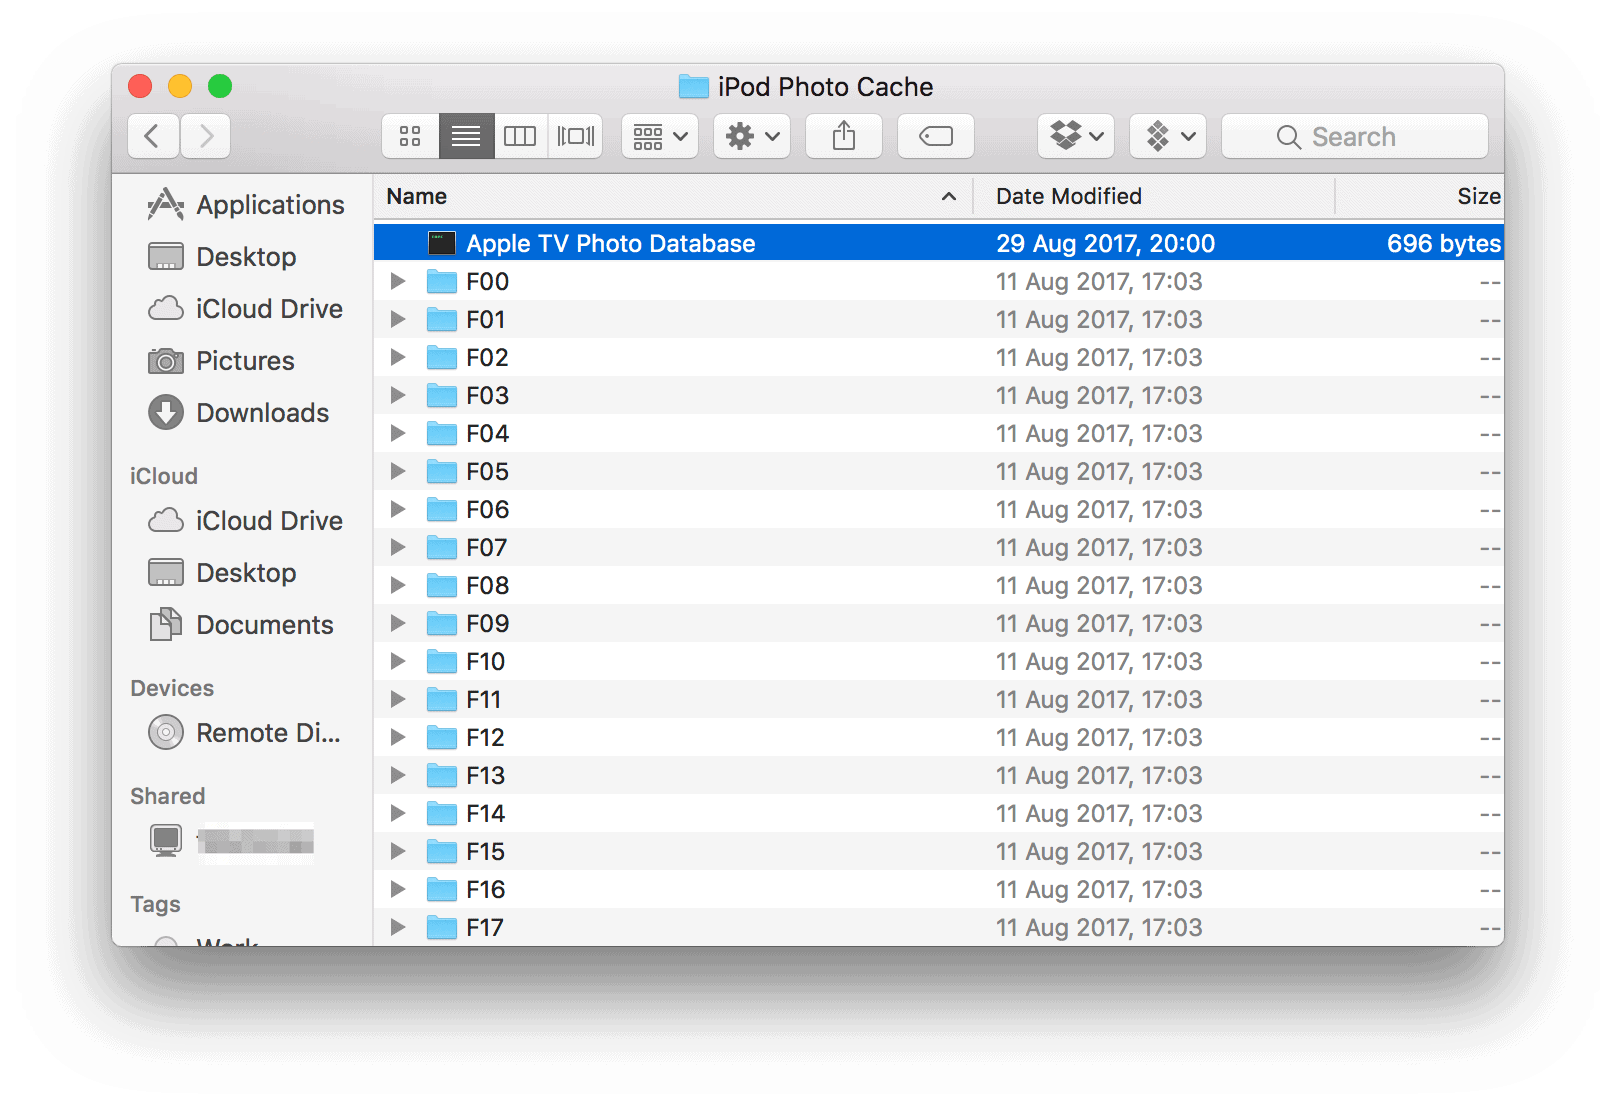
The difference between the two methods is that when you use iTunes to sync photos, it creates two folders (depending on the device): the “iPod Photo Cache” and “Apple TV Photos Cache”. In these two folders iTunes stores pictures optimized for that specific device.
These two folders contain files that aren’t essential, since the high-resolution versions of the same pictures are already stored in the evergrowing Photos library. Essentially this means additional folders stealing storage space from more important files or folders.
As you can imagine, the more you use iTunes to sync your photos, the bigger the cache folder gets, and at some point that will obviously affect your Mac's performance. Every Mac needs at least 10% free storage space to run smoothly. If you are running out of storage, macOS will start taking steps to optimize performance, but it won't delete the growing cache folders for you.
Fortunately, there are two ways to delete the iPhone photo cache on a Mac, and in this article we will show you how to do it both the hard way and the easy way.
How to Delete iTunes Photo Cache on a Mac
Interestingly, macOS will call the cache folder “iPod Photo Cache” even if you are using an iPhone and not an iPod. It will sync your pics with your Mac, so don't search for an “iPhone Photo Cache” folder, because there won't be one. Also, if you sync pictures using a USB cable, you still won't find an “iPod Photo Cache” folder either.
The iPhone photos cache folder can be found in its default location, but in our testing that location is the “Pictures” folder. According to Apple's support document it can also be part of the Photos Library, iPhoto Library, or Aperture Library. Follow the steps below to locate the iPhone photo cache:
- Open Finder, and choose Go > Home > Pictures (or click on the Pictures folder in the left sidebar).
- If you are running macOS 10.12.6, the iPod Photo Cache folder will be right there. If it isn't, continue with the following steps.
- Right-click on the Photos Library, iPhoto Library, or Aperture Library file.
- Choose “Show Package Contents“.
- Remove the “iPod Photo Cache” or “Apple TV Photo Cache” folder by dragging it into Trash. Don't touch any other file or folder in this window, as you may lose data or corrupt your photo library.
How to Delete the iPhone Photo Cache the Easy Way
Mac optimization apps help you save time and nerves when locating files and identifying the right folders. Besides cleaning the photo cache, Mac optimization apps such as CleanMyMac, MacKeeper, Advanced Mac Cleaner, and the like will help you optimize storage and remove cache files as they pile up with the click of a button.
To remove the iTunes photo cache, simply complete the following:
- Launch the Mac optimization app.
- Click “Scan”.
- End the workflow by hitting “Clean”.
Of course, you can always review the files before the app deletes them, but since we are talking about cache files you won’t need to worry too much about obliterating them since these are resized duplicates of the high-res pictures you already saved in your Photos library.
Best Mac Optimization Software of 2024
| Rank | Company | Info | Visit |
|
1
|
|
||
|
2
|
|
||
|
3
|
|
Get the Best Deals on Mac Optimization Software
Stay up to date on the latest tech news and discounts on Mac optimization software with our monthly newsletter.
Share Your Comment